After only a year and a half I’ve finally gotten around to installing a power outlet that I can plug my battery charger and new electric vest into. I’d already installed a controller for my old vest but last year I had to buy a replacement as my original one went kaput just before I was to leave on tour.
 |
| The Auxilary Outlet installed |
All of this may sound a bit fuzzy but the bottom line is the two vests require different outlets and their respective cords are on opposite sides.
Think planned obsolescence and you’ll get the picture.
I chose to mount the plug just below the main body panel where it’s convenient to connect the vest. You’ll need to drill one hole in the plastic panel for this purpose.
To begin the wiring process you must first select a point where you can tap into the bike’s 12 vdc power system. For this application the nearest and most convenient spot was the backside of the power plug located underneath the saddle.
 |
| Back side of power outlet underneath saddle exposed |
Once the plug has been powered down you can roll the weather proof shroud down that covers the back of the plug. This exposes the two wires feeding it which you can use as a point to tap into. Using a #1 Exacto knife I carefully trimmed away ¼” of insulation on each wire; then wrapped the two new wires onto each and soldered the connections.
When finished you need to wrap each one with electrical tape and then pull the weather proof shroud back over the connections and plug. Don’t forget to re-install the 15amp fuse when you’re done. You can see in the above photo the lead wires hanging down from the plug, ready to connect to the new Auxilary Power Outlet.
 |
| New Weatherproof Power Outlet |
I bought my auxilary power outlet from Aerostich Riders Warehouse but they’re also available at electronic suppliers; just make sure the one you choose is weather proof and of high quality.
While I was doing this project I also ordered a right-angle male plug to use with the new outlet. This makes for a tidy connection that doesn’t stick out as far and also helps keep the vest's power cord from flapping in the wind.
 |
| Right Angle Plug with 2-wire connector |
The amount of time required for the project was only a couple of hours and as you can see in the photos it makes for a very sanitary look.
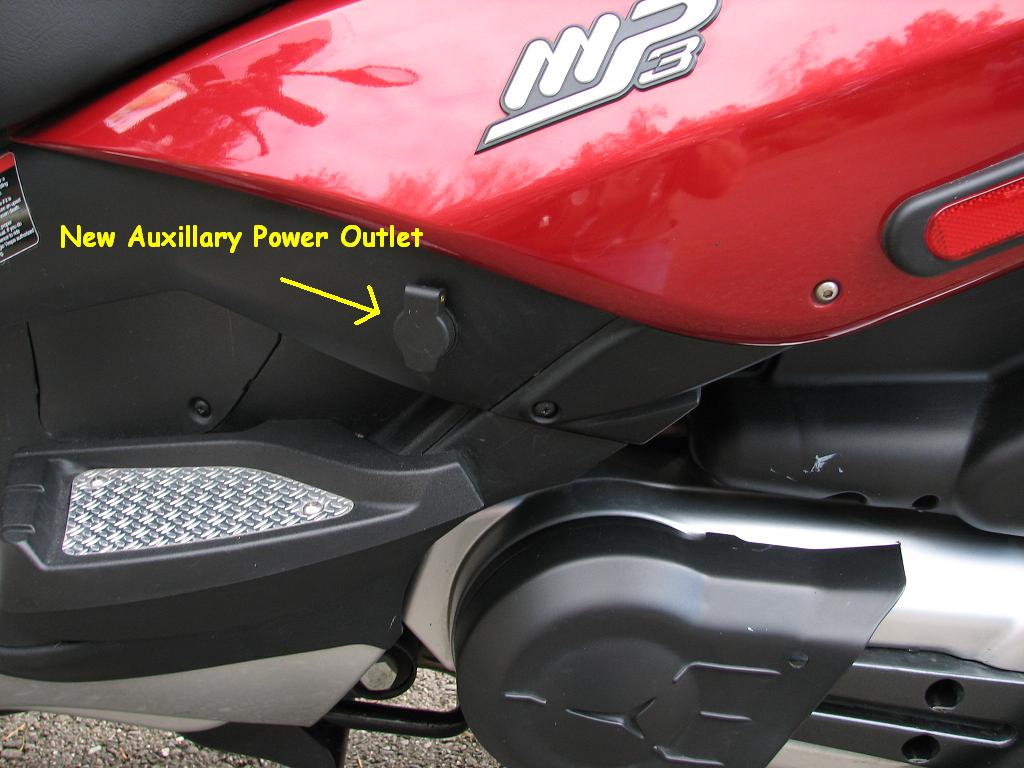 |
| New Auxillary Power Outlet |
 |
| Weatherproof cover is spring loaded For those who are interested here’s a link to AeroStich Rider Warehouse. If you spend money there tell Andy he owes me big time. http://www.aerostich.com/catalog/US/index.html |

No comments:
Post a Comment